Pure Epoxy 30 Gallon Kit, Up To 3,450 SF

$3,600.00

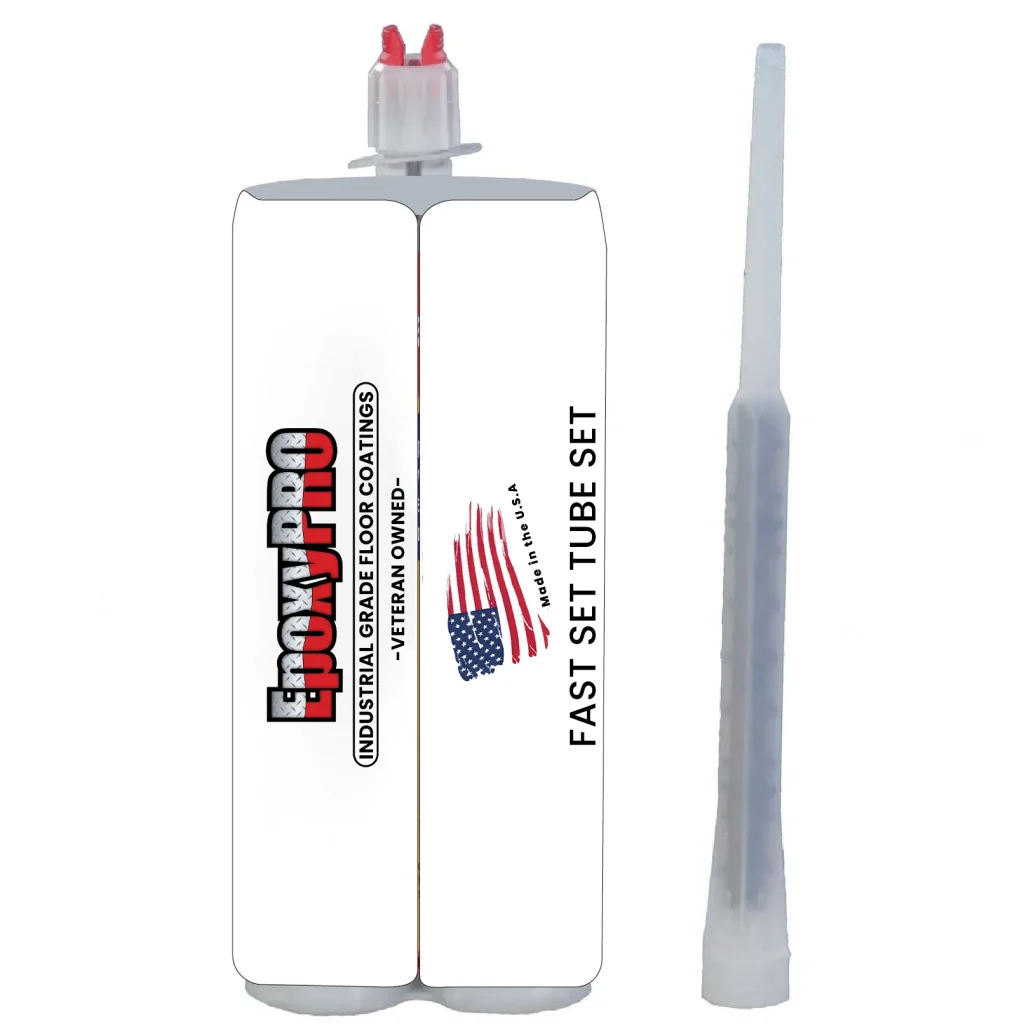
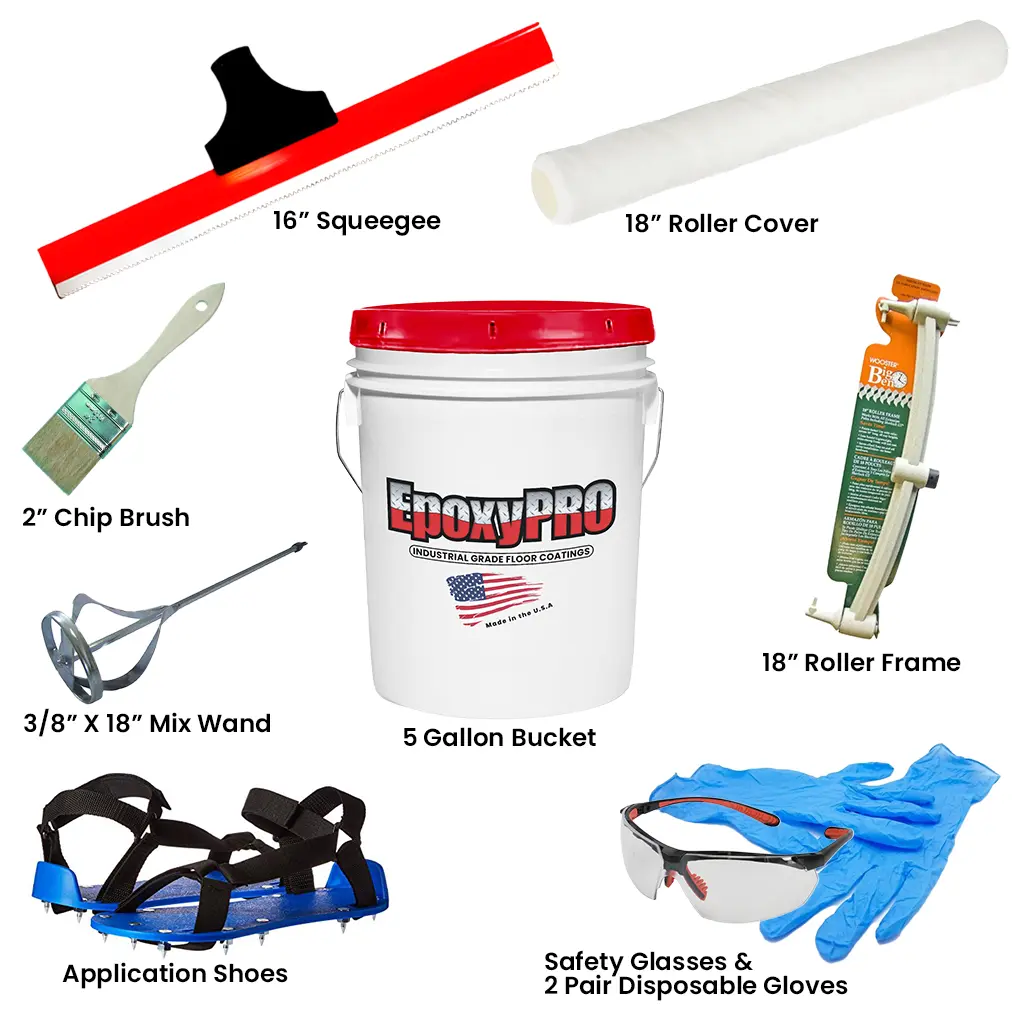
30 Gallon FULL Kit Pure Epoxy INCLUDES: 20 Gallon Part A, 10 Gallon Part B of 100% Solids (Clear) Epoxy, 1 Mix Wand, and 1 Notched Squeegee.

Coverage: up to 3,500 sq. ft. on smooth concrete.


Get a FREE Coaching Call with our head installer after every purchase!

Average 2 Car Garage: 576-720 sq ft

Average 3 Car Garage: 864-1296 sq ft

Read our tutorial on How to Apply Pure Epoxy

SKU: PE-30G

EpoxyPRO EP600 Series is a an industrial grade/food grade, non-porous, chemical and stain resistant, two component 100% solids epoxy coating designed for interior applications where an impact resistant floor is needed. Odorless, ZERO (VOCs) Volatile Organic Compounds produce a non-toxic, high-gloss finish with increased light reflectivity up to 400%.

EpoxyPRO Industrial Grade Epoxy Floor Coating Systems produce an attractive and highly durable floor tough enough for heavy manufacturing or the harshest industrial environments but beautiful enough for your home or office.

TIMING: Ultra Fast coating cure times allow for foot traffic or motorized traffic in 16 to 24 hours.

COVERAGE: our installation tools that are provided allow you to squeegee and roll out this product at approximately 8-20 mils per coat on most smooth concrete floors. Please Note: Actual coatings coverage rate per mils is dependent on the concrete surface porosity. For overly porous concrete more materials may be required. (2A to 1B mix ratio up to 116 SF per Gallon or 3,450 SF per 30 Gallon Kit)

RECOMMENDATION: for your safety and for that of others please keep in mind that many types of floor finishes may be slippery when wet or has any inconspicuous foreign substances that may create a potential slip hazard. Keeping floors clean and dry is recommended.

Please note the following non-slip recommendation:

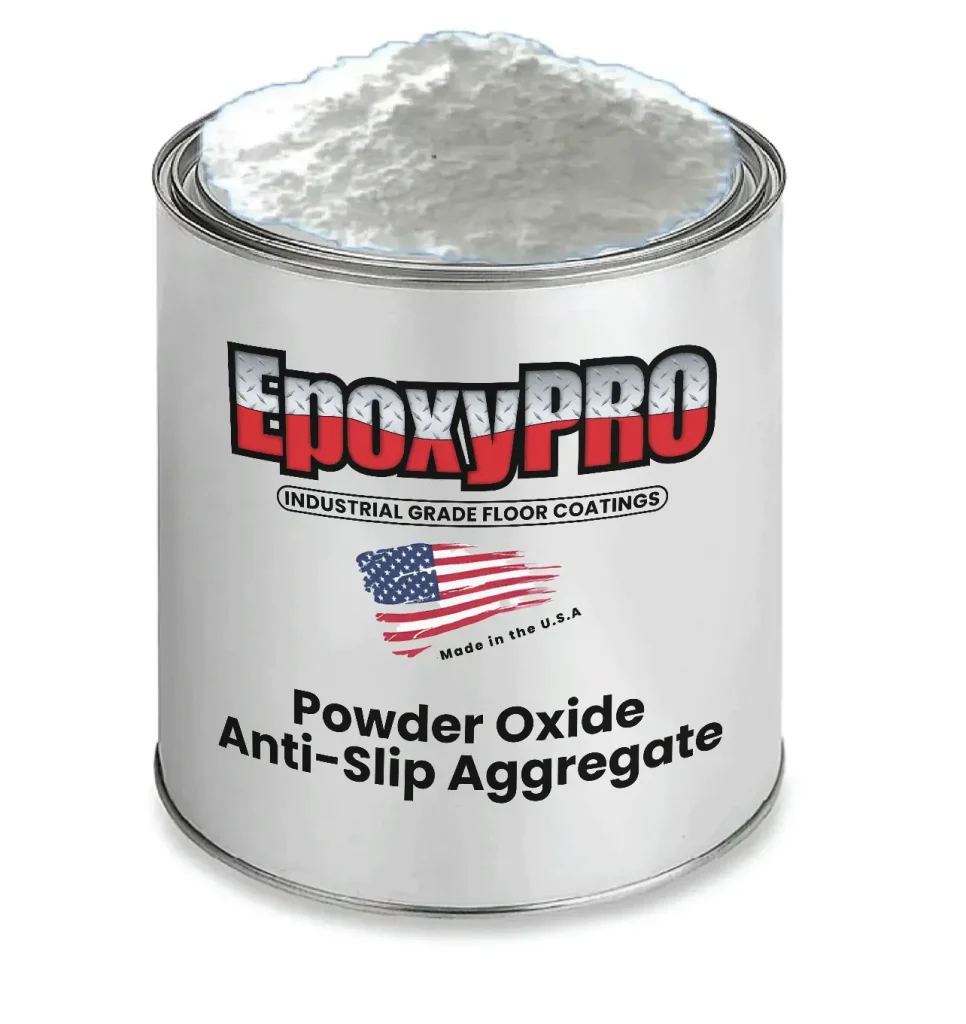
Aluminum Oxide #46 Grit Broadcast is recommended to be used with: PURE 100% Solids Epoxy or METALLIC 100% Solids Epoxy.

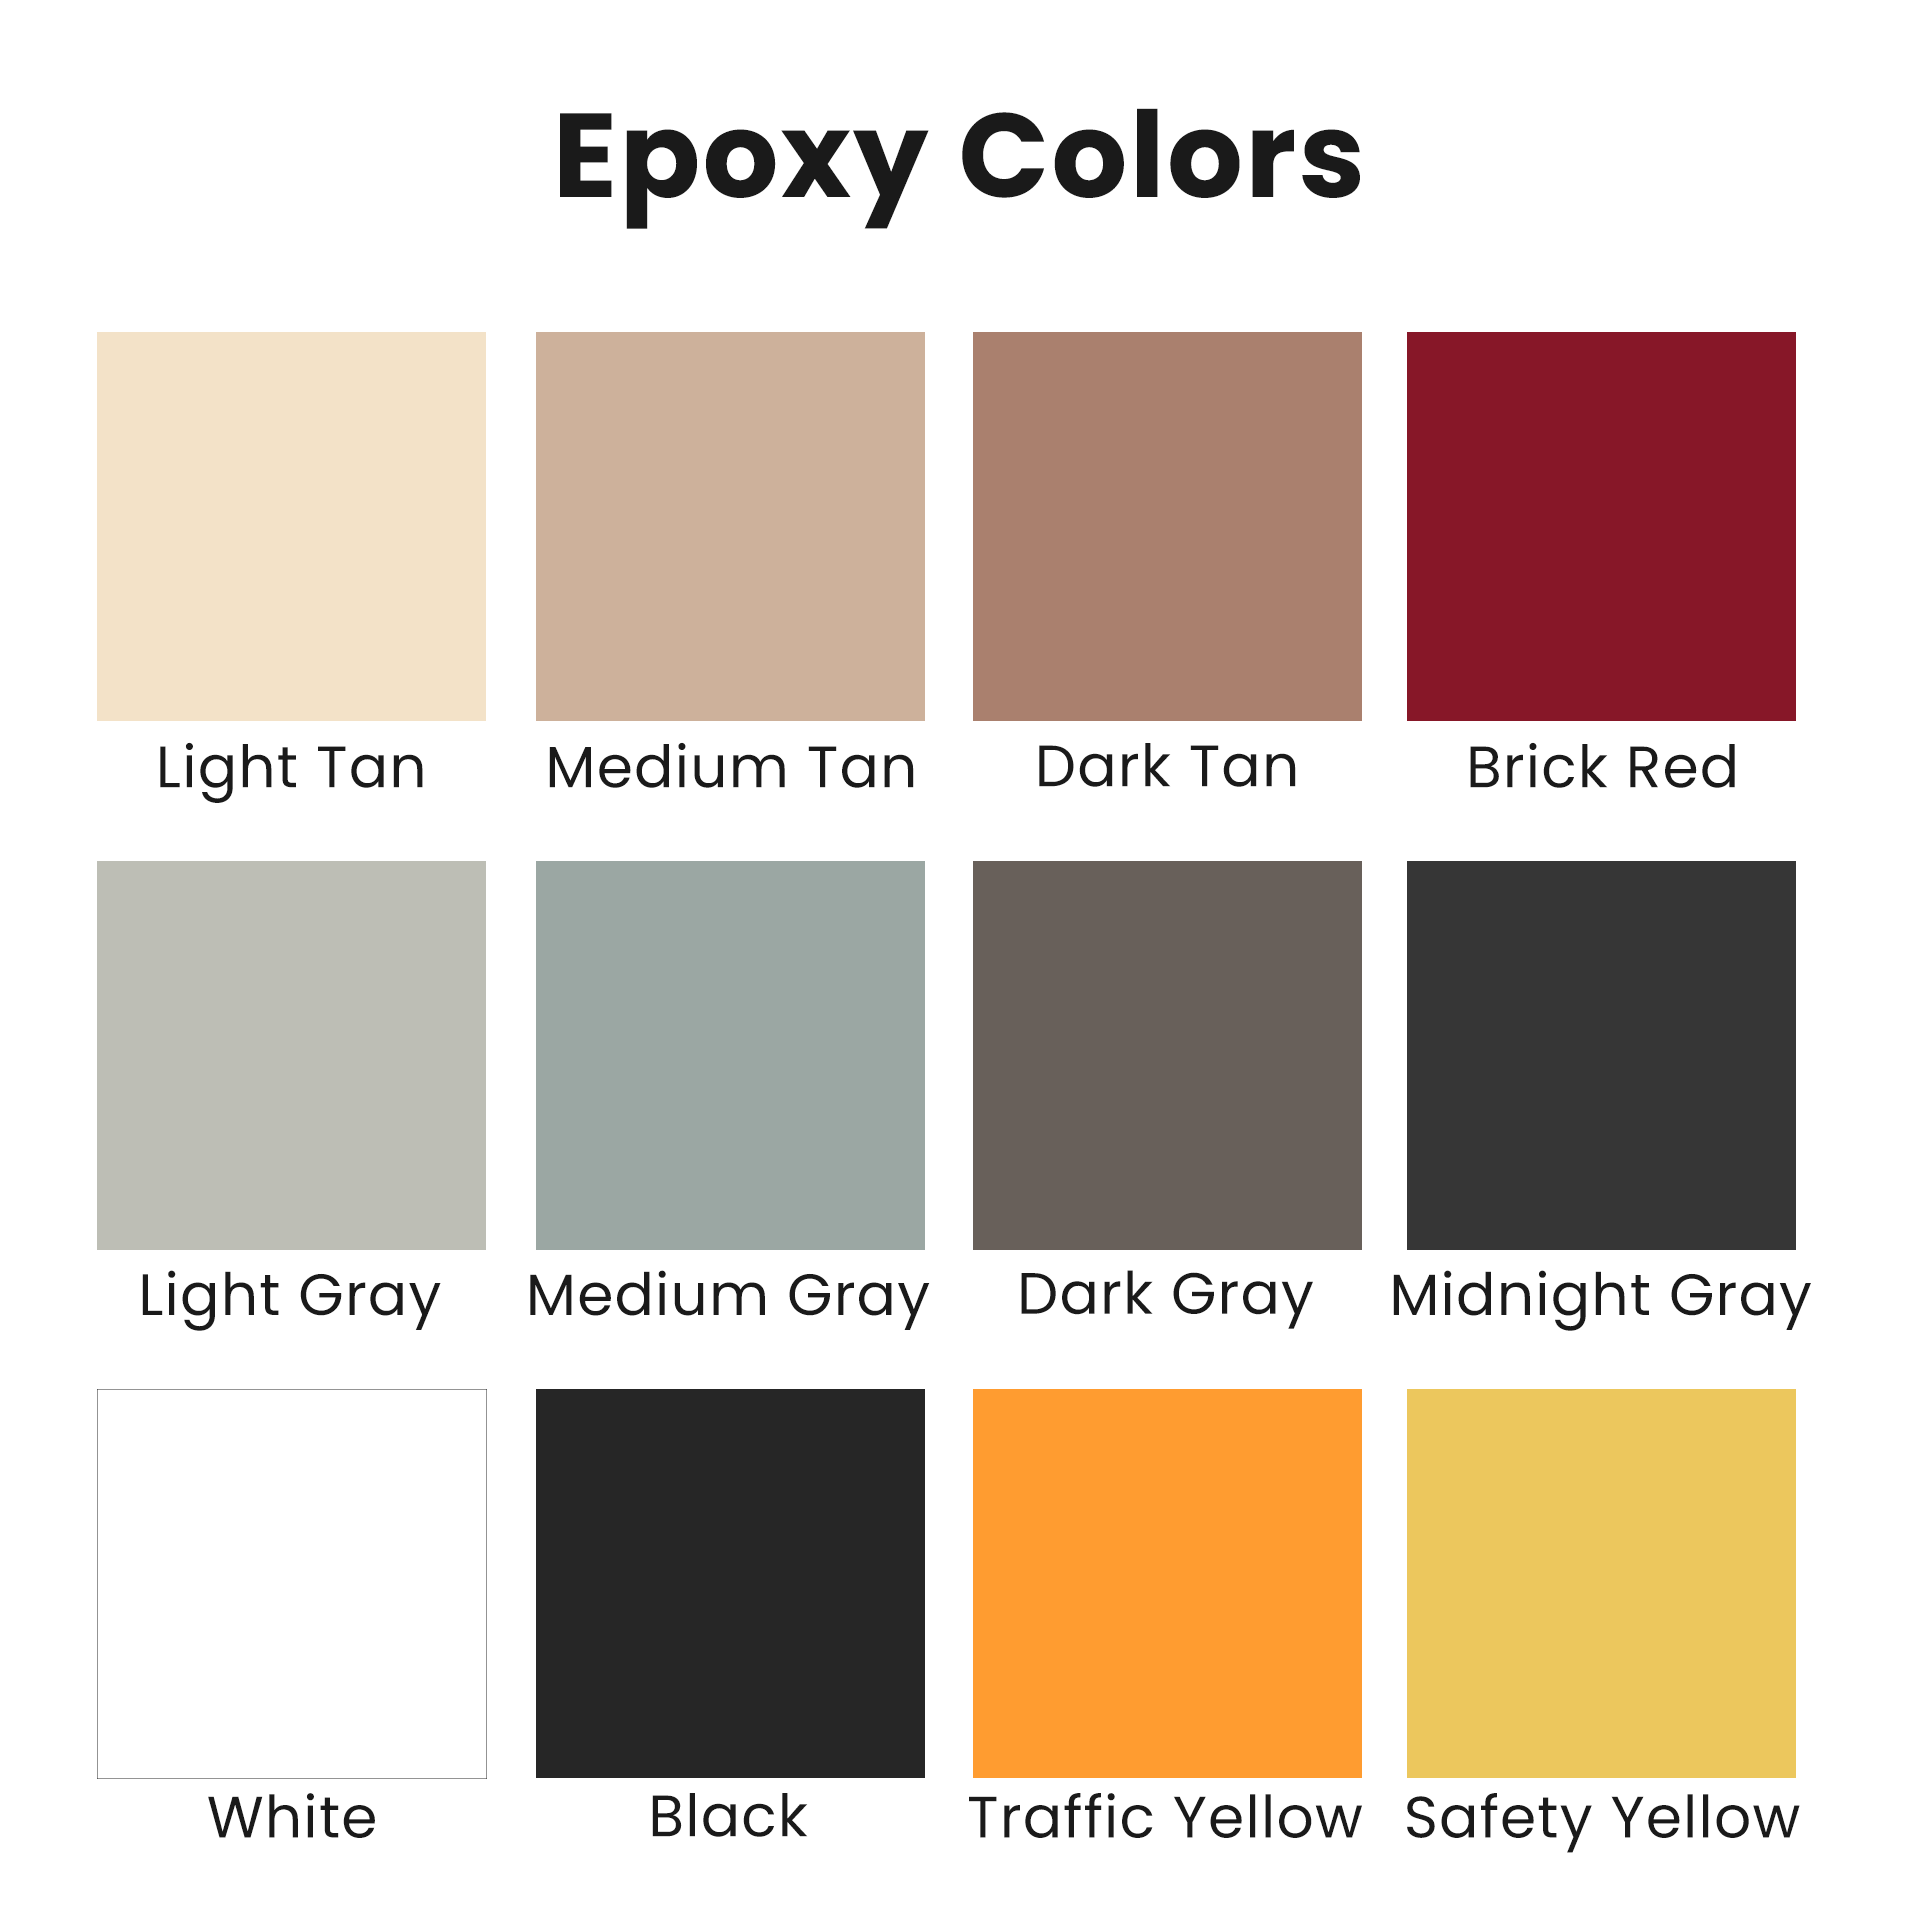
CUSTOM COLORS: are available for an additional cost and a minimum of 15 Gallon order. Please call 877-703-7699 for pricing.


Do-It-Yourself or Professional Installation is Available

Please call us at 877-703-7699 or email us at Sales@EpoxyPro.com 

with any questions or to schedule a free estimate on any

residential, commercial or industrial floor project.

Industrial epoxy floor paint  |  Garage epoxy paint  |  Gountertop epoxy

Epoxy Calculator

Project Calculator

100% Solids Epoxy: (Input your sq/ft and desired flake broadcast)

Any Size Flakes: (Input your sq/ft and desired flake broadcast)

High-Wear Topcoat: (Input your sq/ft and desired flake broadcast)

Please Note: Due to varying surface porosities, our estimates are based on extensive experience. EpoxyPRO, LLC is not liable for material shortages due to substrate absorption, incorrect application, or aesthetic dissatisfaction. DIY instructions are provided in invoices and on our website. Technical support is available almost 24/7 (excluding Sundays after 1 pm EST). Customers can purchase additional materials if needed. Visit EpoxyPRO.com for details.

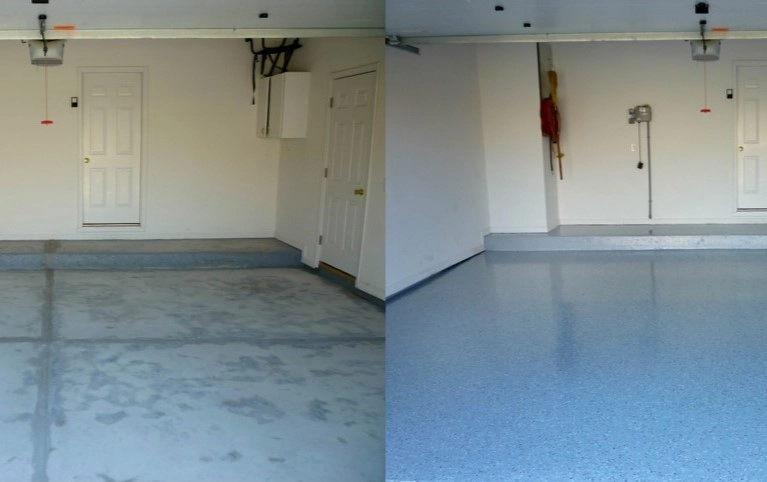
Epoxy Before and After

How to Apply 100% Pure Epoxy

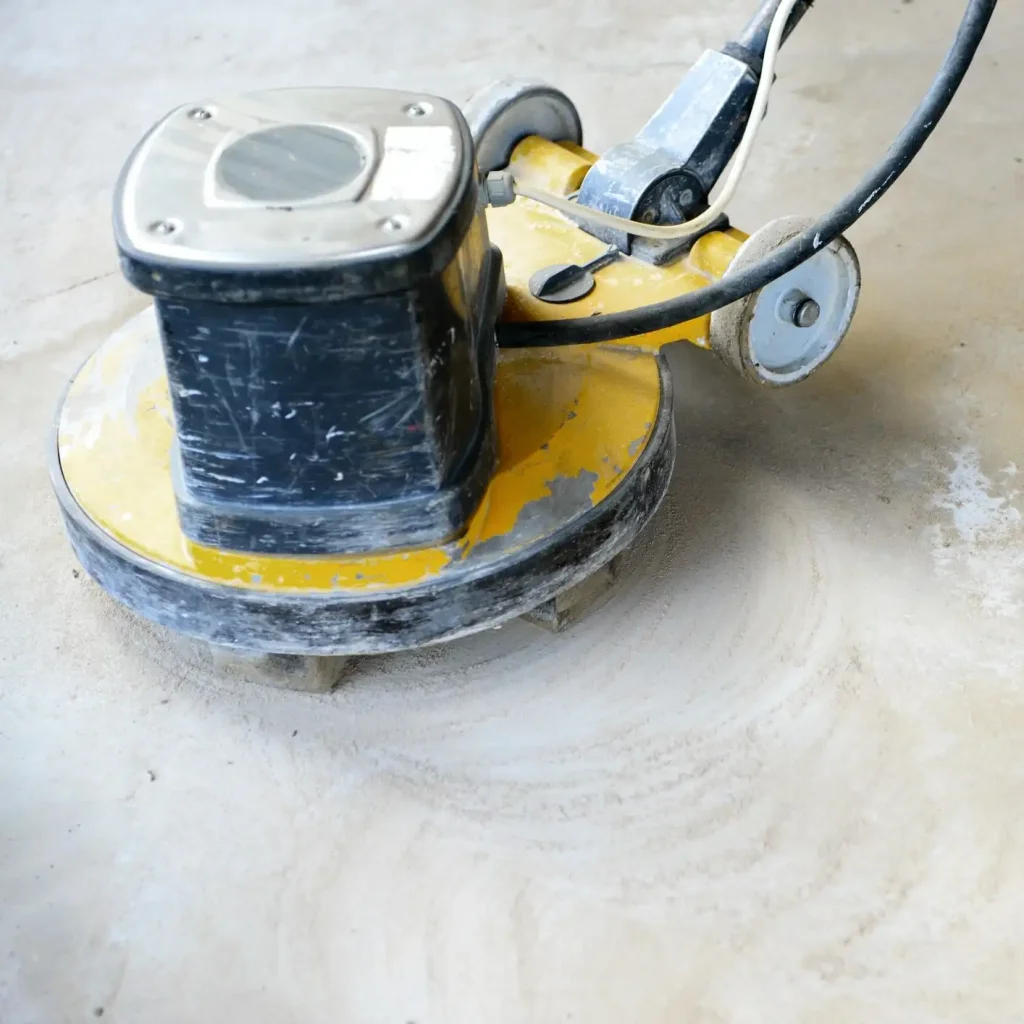
concrete grinding

Step 1. Grind the floor

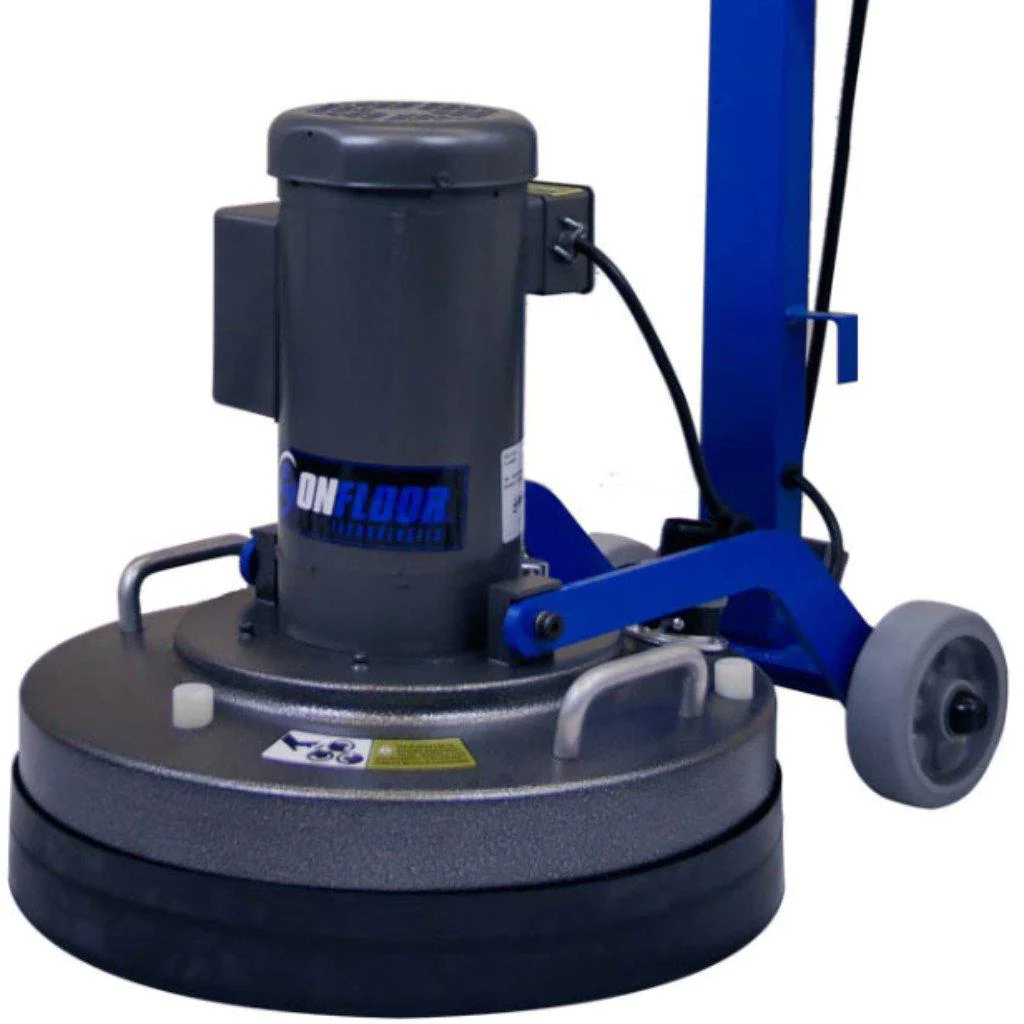
Grind the floor with a concrete grinder, ensuring a cleaner and more porous surface for the epoxy product to bind to. This process takes 3-6 hours for a two car garage.
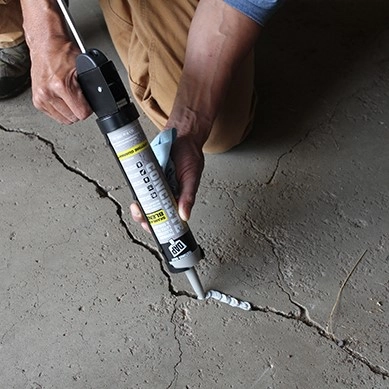
crack filling

Step 2. Fill gaps and cracks

Use our concrete repair kit if you have any cracks larger than the width of a credit card. Hairline cracks are completely fine to leave.
mixing

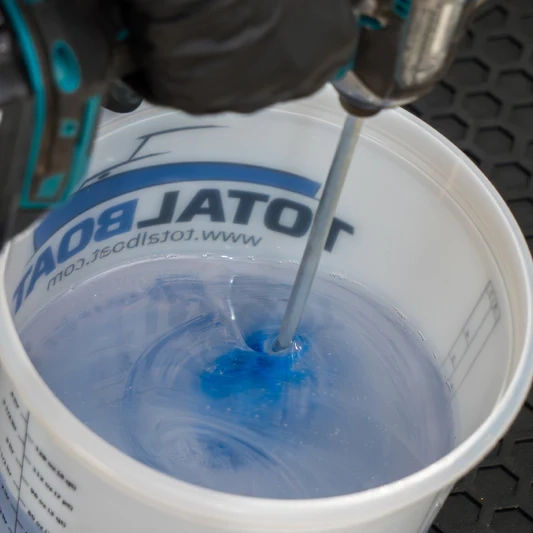
Step 3. Mix part A and B

Combine parts A and B in a 5 gallon bucket, mixing with the provided mixing wand attached to a drill. Mix for no less than 4 minutes.
epoxy squeegee

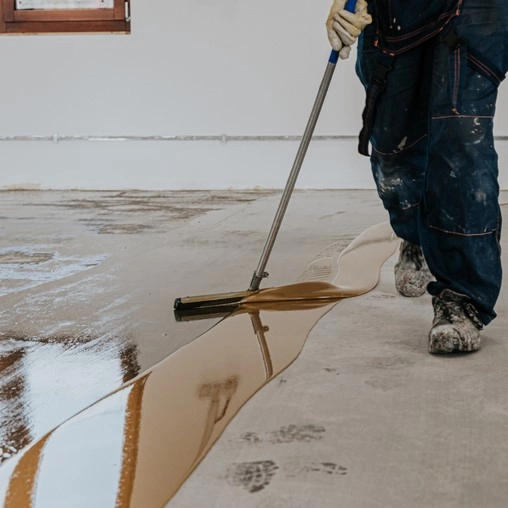
Step 4. Apply Epoxy

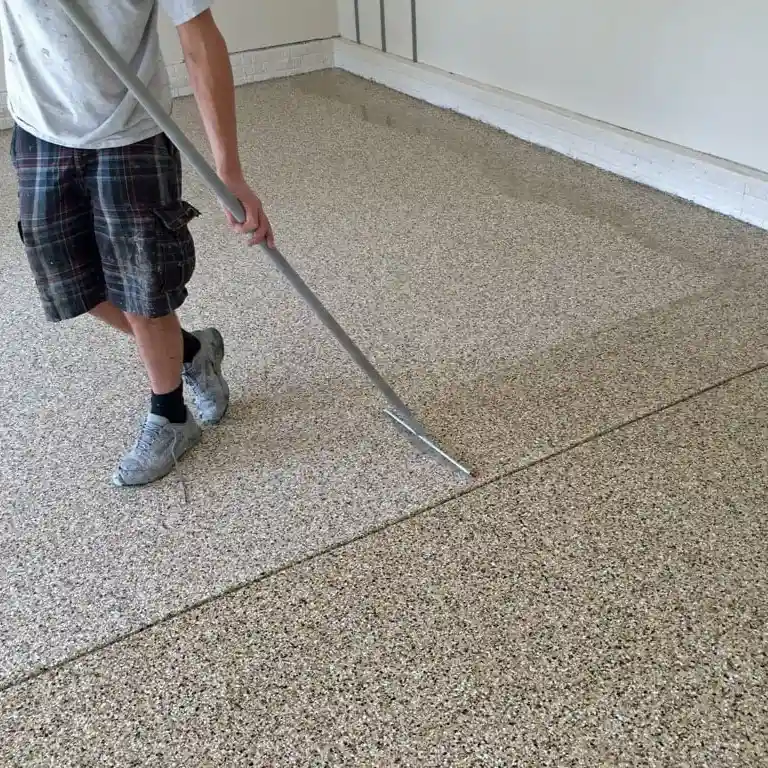
Using our 18″ Notched Squeegee, spread the epoxy evenly across the floor then use the roller to work it in. Apply in sections to ensure proper bonding, as well as to keep the work flow manageable.
flake broadcasting

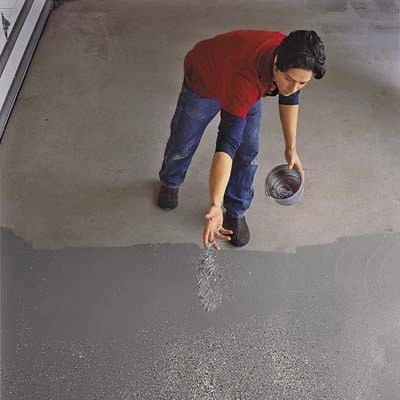
Step 5. Broadcast Flakes

Sprinkle flakes evenly across the floor. Throw them up in the air, and let the flakes naturally fall to the epoxy. Wait 16-24 (not more than) hours before moving on to the next step.
topcoat application

Step 6. Apply Topcoat

The last step for a perfect epoxy floor is to apply a topcoat. This ensures long lasting effects and provides protection against chemicals, oil and more.

Want a Pro to do it for you?

Frequently bought with this product